
This tutorial is about completing tasks related to the end of a coaching session. To be understand these tasks, let me know explain this client’s coaching process pipeline. Once a potential client of his (company) expresses a want to have coaching sessions they start out as a lead. During the lead process they do not have full coaching sessions which minimizes the administrative tasks. However, once they decide to fully continue the program they start with their coaching session called focus day and from there the coaching journey cycle begins. This tutorial will be doing tasks a little backwards because once the client completes their first official session (Focus day), these set of tasks will be the process going forward for each of the following sessions until the end of the coaching journey. As for the first session (Focus Day), please see this tutorial.
Key Points
- We use a pipeline that highlights each stage of the tasks you will see in this turorial
- When the deal in the pipeline moves to a stage it generates a set of tasks for the client and the VA
- You must complete the tasks according to this tutorial and then mark them as complete in the CRM
Task List
- 1. Record session in CRM
- 1. Record session in CRM
- 1. Record session in CRM
- 1. Record session in CRM
Record session in CRM
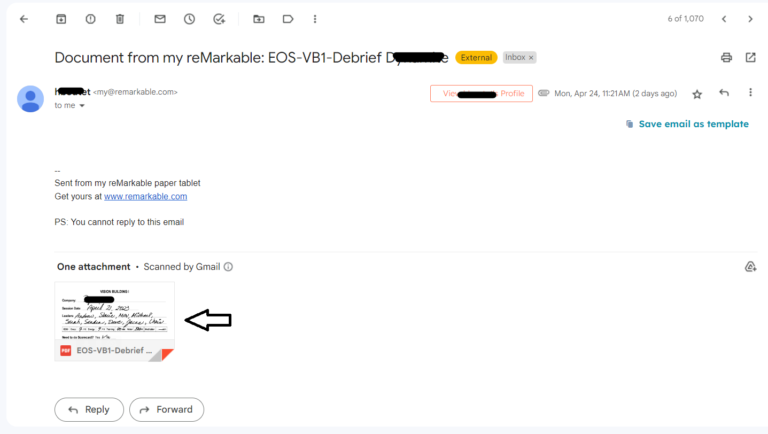
1. When our client completes a session with his client, he send us an email of his notes for that session. We must enter information found in the notes in two CRMs (Hubspot and Salesforce). This is what the email looks like below. Click on the email to begin the series of tasks

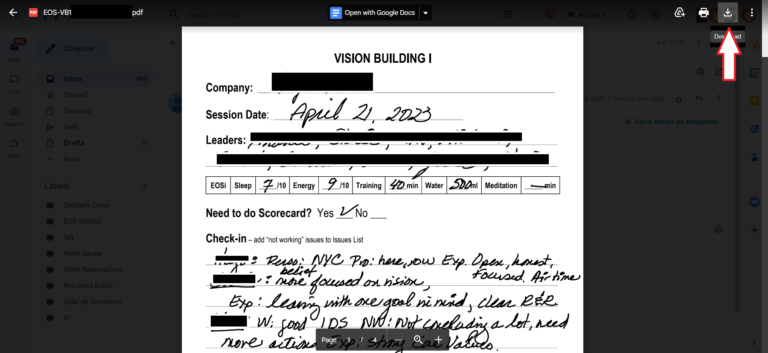
2. Click on the notes document found in the email to open.
3. Click on download to download file to your computer. Leave note open or open in adobe or other.
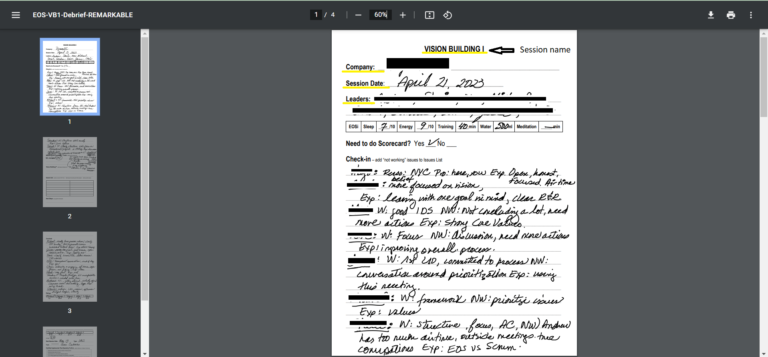
4. Use open notes to get the information needed to enter information in Hubspot. In the image below, you will find the information you need to look at in order to perform this step and for the entry in Salesforce.
Page 1
On the first page, we are looking for the:
- Name of the session
- Name of the company
- Date of the session
- Names of the leaders
The fields listed are underlined in yellow
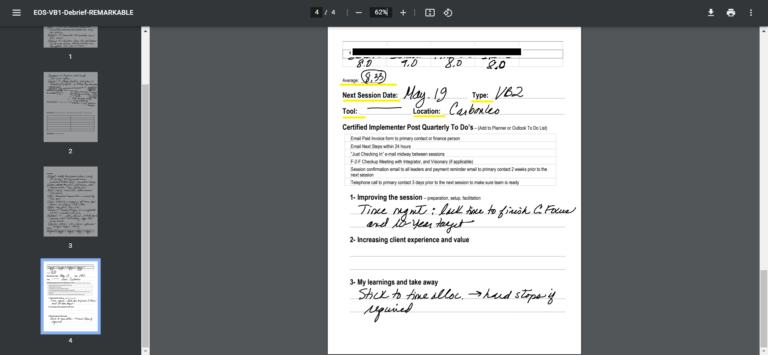
Page 4
On the fourth page we are looking for:
- Average*
- Next Session Date
- Type
- Tool
- Location**
* If the Average is not there, you must calculate it yourself. To calculate the average you must add the rating of each leader and then divide by number of ratings. Take note that sometimes you will find the ratings on page 3 and 4.
** If the location is just a name, type the name in Google to find the address or you can look at the previous session location in Hubspot to see if it is the same location.
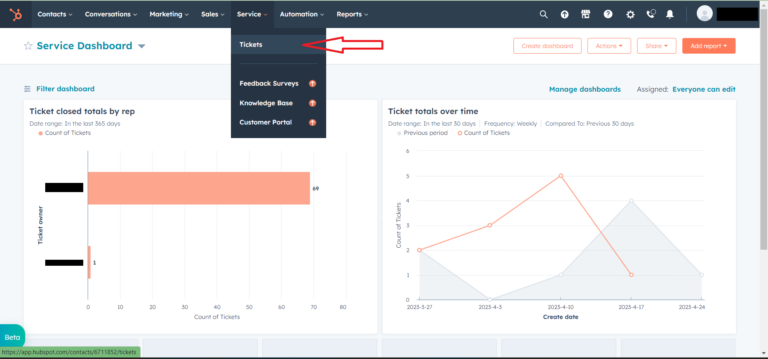
5. Login to Hubspot at app.hubspot.com
6. Go to service and click on ticket
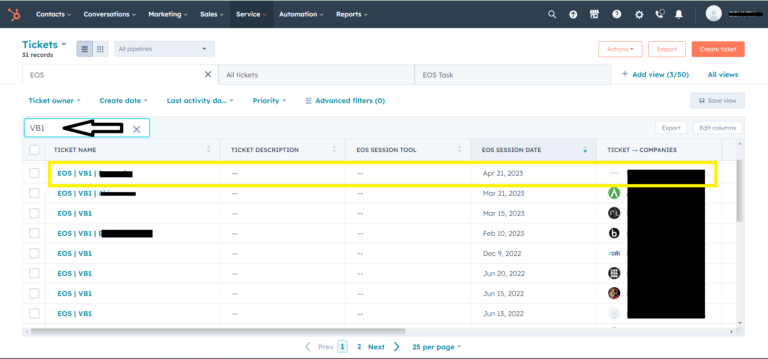
7. Search by name of session and then choose the session with same date and client name as the session notes. Click on the ticket name to open.
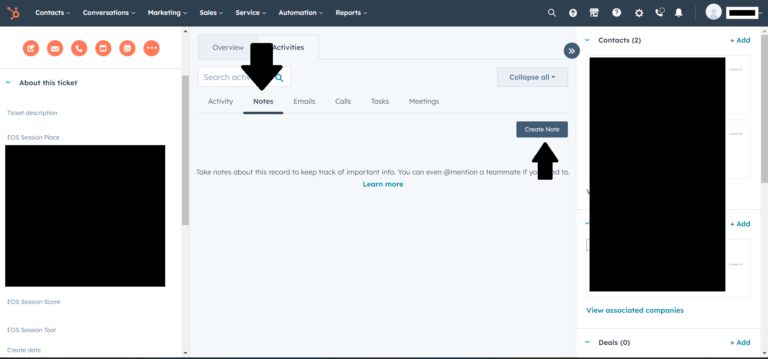
8. Click on Notes and then create note
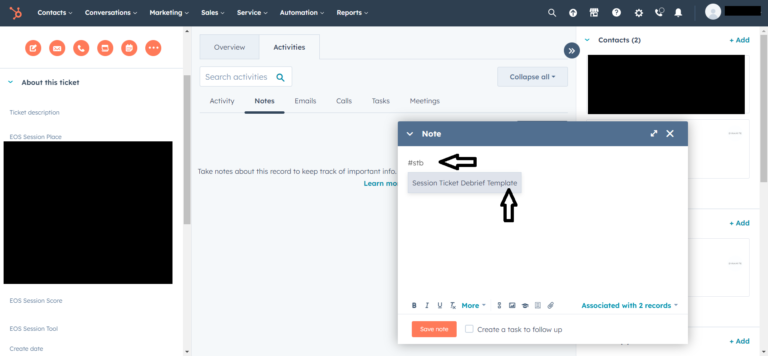
9. In the note enter #stb and select ” Session Ticket Debrief Template ”.
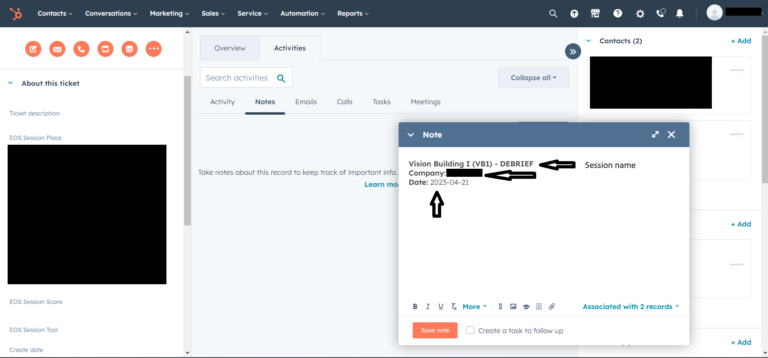
10. Once the note template uploads, keep session name as is or modify, enter company name and date.
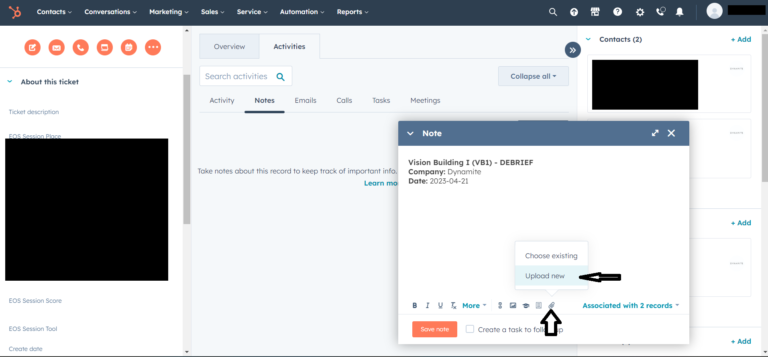
11. Upload session notes document to the hubspot notes. Click on the paper clip and then ” upload new ”.
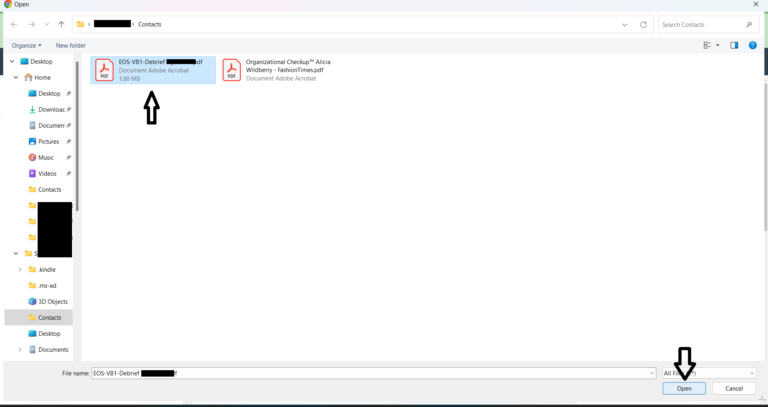
12. Select file and click open.
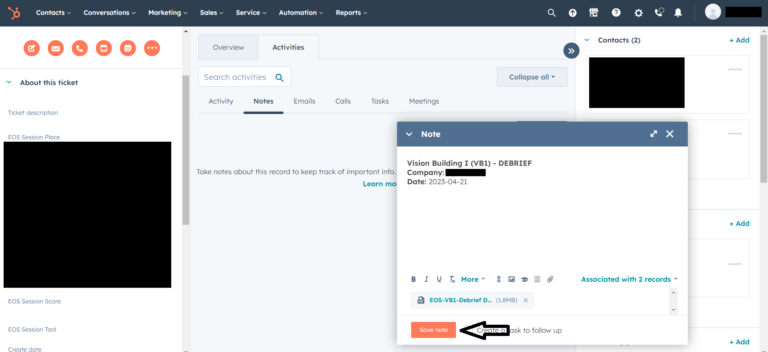
13. Save the hubspot note
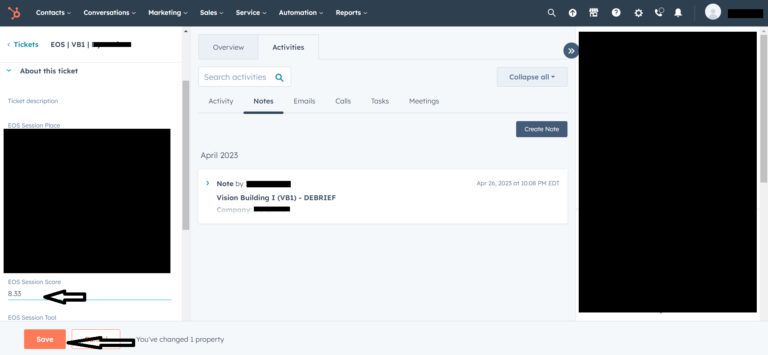
14. Enter the ”Average” in the ”EOS Session Score” field in left side bar and click save.
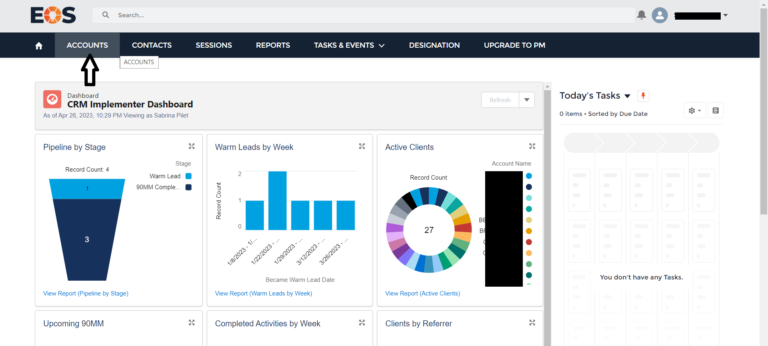
15. Log into Salesforce with your assigned Gmail account and click on ”ACCOUNTS”.
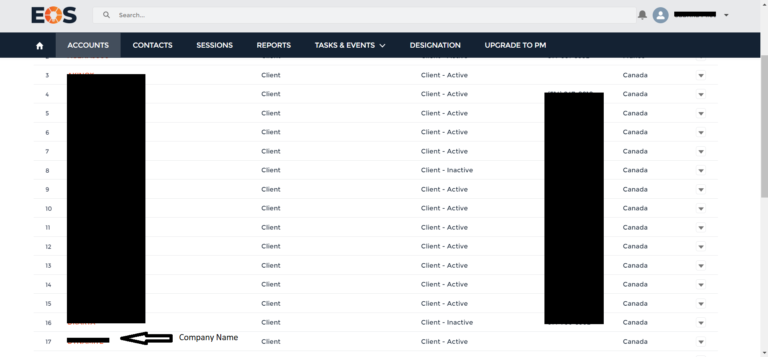
16. Select the company name found in the session notes.
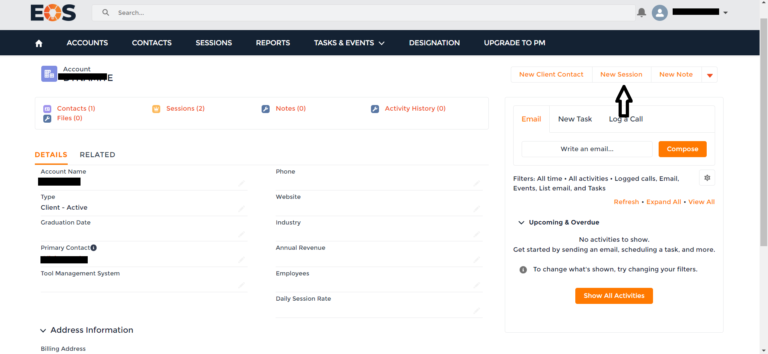
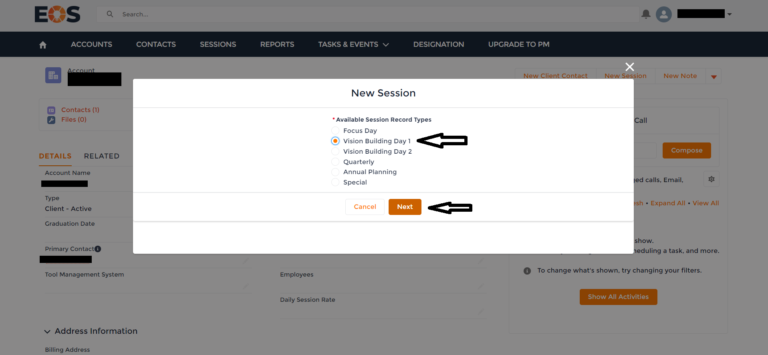
17. Click on ” New Session ”
18. Select the appropriate session type and click next.
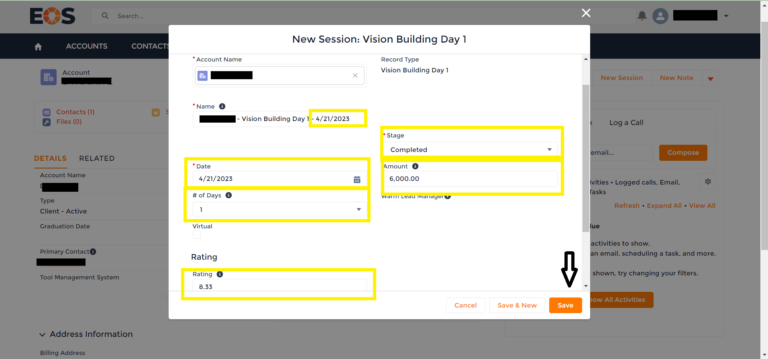
19. Modify date in the name, date field, stage to completed, enter session amount** and change ” # of days ” field, if needed (Only for Annual Sessions, for all other sessions leave at 1). Enter rating and click save.
** The amount can be found in the left side bar in the companies profile in Hubspot. Each amount is different per client, so please check. When the session is an annual session then multiply the amount by 2.
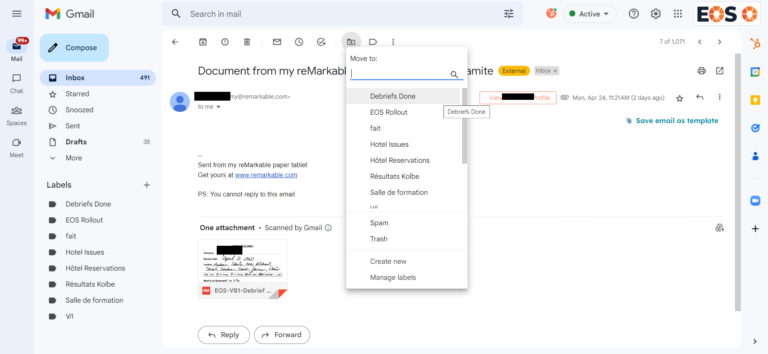
20. Move Gmail of session notes to the label called ” Debriefs Done ”.
And we are done with the end of session tasks! Now on to the next session tasks!
21. Go to Sales and click on tasks
22. Close Record EOS Session Tasks
23. Move deal to next stage
24. Close Move deal to next stage task and follow the next list of tasks**
**When you move the deal to the next stage in the pipeline, new tasks are generate for the next session. However, not in every case. Sometimes the new tasks generated are for an extra step in between the last session and the new session (Like in the case of Vision Building 2 (VB2) end of session). If you read each task you should be able to not make mistakes..