
Now that we have completed the end of session tasks we need to start the next session tasks. This is an important process because the clients will be waiting on a proper follow-up to their next session. So let’s dive in!
Tasks List
- Creat new session ticket
- List Item #1
- List Item #1
Create New Session Ticket
For this tasks refer the end of session notes and look at the details for the next session located at the bottom (last page).
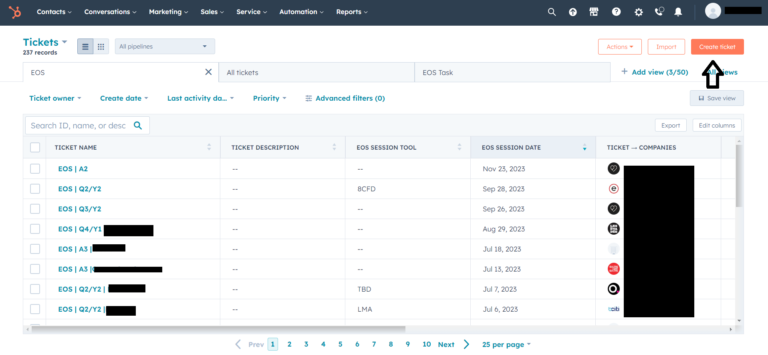
1.Log into Hubspot and click on ”Service” and then ”Tickets”.
2. Click on ”Create Ticket”
3. Enter the following info:
- Ticket Name (like this EOS | SESSION TYPE | COMPANY NAME).
- Change Pipeline to ”session pipeline”
- Enter ”EOS Session Tool” (found in the notes, leave blank if there is nothing in the notes)
- Change owner to our client’s name
- Add EOS Session Date (found on the last page of the end of session notes)
- Add EOS session hours ( 9h à 17h or 9h à 17h x 2 (for annual session of 2 days))
- Add EOS Session Fee (look for info in client’s profile)
- Add EOS Session Place (found on the last page of the end of session notes, look for location)
- Enter KM Two-way by using Google Maps
- Associate ticket with company
- Click create
4. Go to clients profile by clicking on Contact and then companies.
5. Click on the company name. You can use the search to find the company faster
5.1 Modify next session info in the left side bar (can be found on the last page of the end of session note):
– EOS Next Session Date
– EOS Session Hours (add hours if blank, look at the calendar to verify that the date is the same. If, not right in the new session hours)
– EOS Next Session Type
– EOS Session Place or tbc or tbd
-EOS Session Tool
6. Send Next Session Prep email to clients. Start by clicking on the activities tab and then the emails tab.
Here is a list of the emails templates for the session that you will need:
6.1 Focus day (FD)
– EOS | Session | Focus Day
or
– EOS | Session | Journée Focus
6.2 VB1 or VBI
– EOS | Session | Vision Building I
or
– EOS | Session | Bâtir Vision I
6.3 VB2 or VBII
– EOS | Session | Vision Building II
or
– EOS | Session | Bâtir Vision II
6.4 Quarterly
– EOS | Session | Quarterly
or
– EOS | Session | Trimestriel
6.5 Annual
– EOS | Session | Annual
or
-EOS | Session | Annuel
**For virtual sessions the email templates will be named the same with the except of the word session that will be virtual session. Ex.: EOS | Virtual Session | Session Type
7. Click on create email
8. Open company contacts in separate tab
9. In the contacts tab, sort by the column EOS Role by clicking on it. We send next session emails to LT members only and we add the admin in cc.)
10. Go back to the company profile and open the blank email.
11. Click on “to” and select all of the email addresses that are LT member according to the contacts list.
12. Click on cc and select the email of the admin contact
13. Click on Templates
14. Type session type in search and select email template
15. Make sure that the email is correct with the right date, time and location.
15.1 Link to next session ticket (you can also do it after you click send if you forget. Like in the picture below)
16. Click send
17. Create calendar event and enter event name (EOS | Session Type | Company name), location (if tbd or tbc leave blank) and each LT member and an invitee and click send.
18. Go to the sales in Hubspot and click on tasks
19. Close task Send LT Email
20. Modify dates of the other tasks according the instructions in the brackets.
**Please note that sometimes the contacts list with LT member is not accurate, please refer to the end of session note and count every leader on there and compare to the list in Hubspot. The end of session note would be the most accurate list of contacts that are LT members. Add new contacts to the Hubspot list and label them as LT member or remove the LT member from those who are not in the end of session notes but do not delete them. When in doubt just send an email to the admin contact to clarify. There is an email template for that name ” Pre-session admin contact follow-up”. The template is available in French or English